Install KVM Hypervisor on CentOS 7
KVM is an open source hardware virtualization software through which we can create and run multiple Linux based and windows based virtual machines simultaneously. KVM is known as Kernel based Virtual Machine because when we install KVM package then KVM module is loaded into the current kernel and turns our Linux machine into a hypervisor.
In this post first we will demonstrate how we can install KVM hypervisor on CentOS 7.x and RHEL 7.x and then we will try to install virtual machines.
Before proceeding KVM installation, let’s check whether your system’s CPU supports Hardware Virtualization.
Run the beneath command from the console.
We should get the word either vmx or svm in the output, otherwise CPU doesn’t support virtualization.
Step:1 Install KVM and its associate packages
Run the following yum command to install KVM and its associated packages.
Start and enable the libvirtd service
Run the beneath command to check whether KVM module is loaded or not
In Case you have Minimal CentOS 7 and RHEL 7 installation , then virt-manger will not start for that you need to install x-window package.
Reboot the Server and then try to start virt manager.
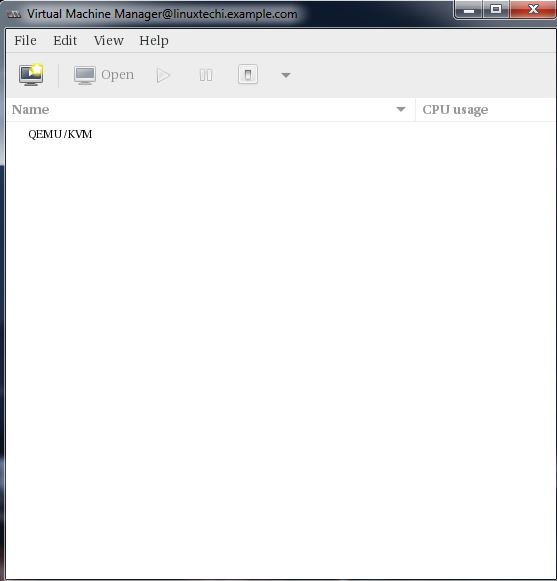
Step:2 Start the Virt Manager
Virt Manager is a graphical tool through which we can install and manage virtual machines. To start the virt manager type the ‘virt-manager‘ command from the terminal.
Step:3 Configure Bridge Interface
Before Start creating VMs , let’s first create the bridge interface. Bridge interface is required if you want to access virtual machines from outside of your hypervisor network.
Edit the Interface file and set followings:
Edit the Bridge file (ifcfg-br0) and set the followings:
Replace the IP address and DNS server details as per your setup.
Restart the network Service to enable the bridge interface.
Check the Bridge interface using below command :
Step:4 Start Creating Virtual Machines.
Now Create Virtual Machine either from the command line using ‘virt-install‘ command or from GUI (virt-manager )
Let’s Create a virtual machine of “Windows Server 2012 R2” using virt-manager.
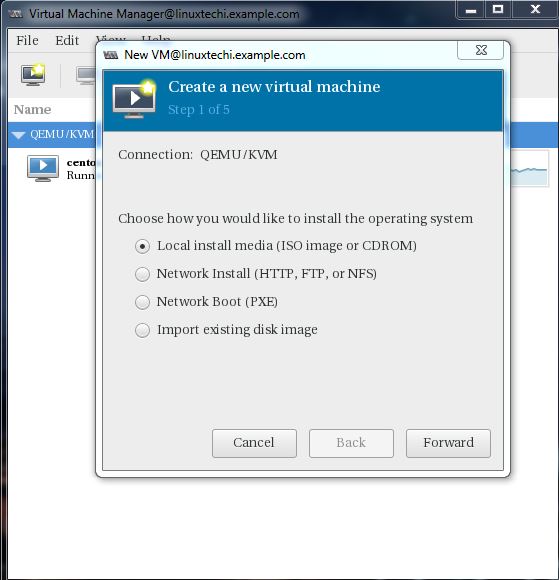
Start the “virt-manager”
Go to the File Option, click on “New Virtual Machine”
We will be using ISO file as installation media. In the next step Specify the path of ISO file.
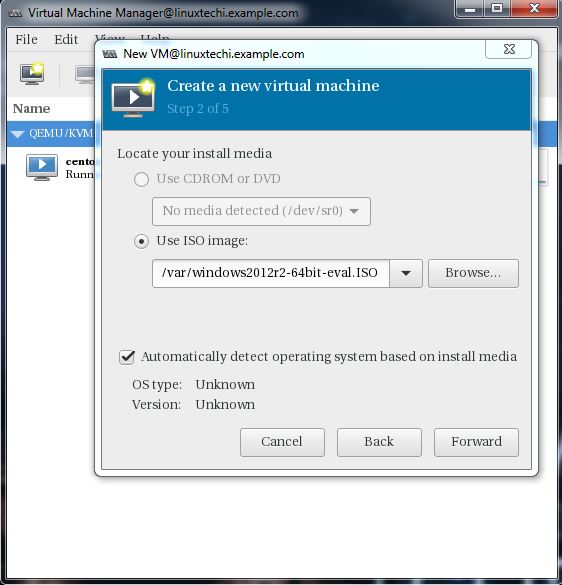
Click on Forward.
Specify the Compute Resources : RAM and CPU as per your setup.
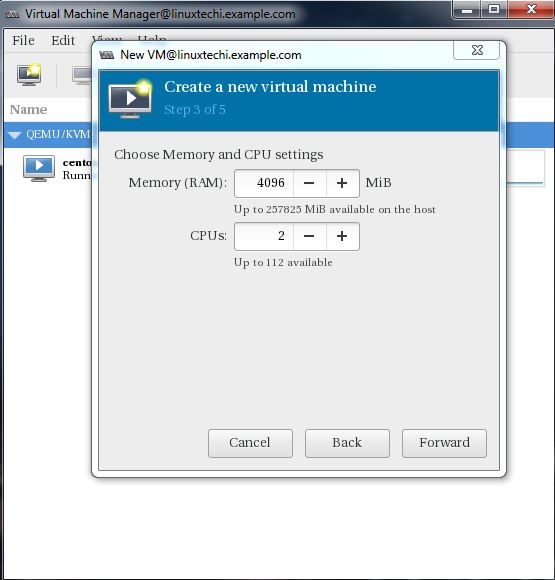
Click on Forward to proceed further.
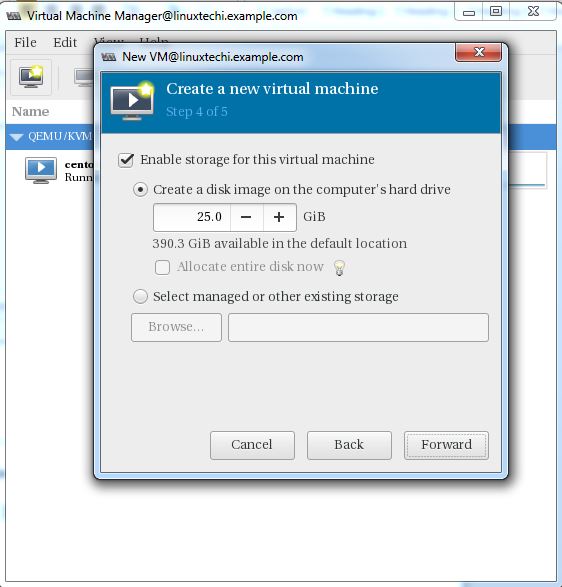
Specify the storage Size of Virtual Machine, In my case I am using 25G.
In the Next step Specify the Name of Virtual Machine and select network as ‘ Bridge bro’
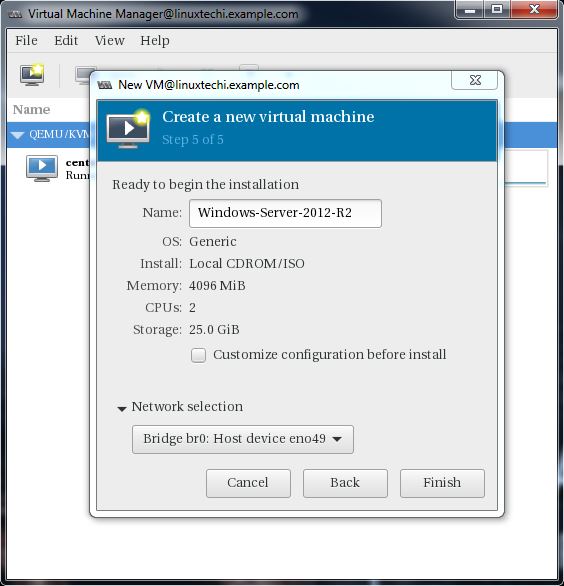
Click on Finish to start the installation.
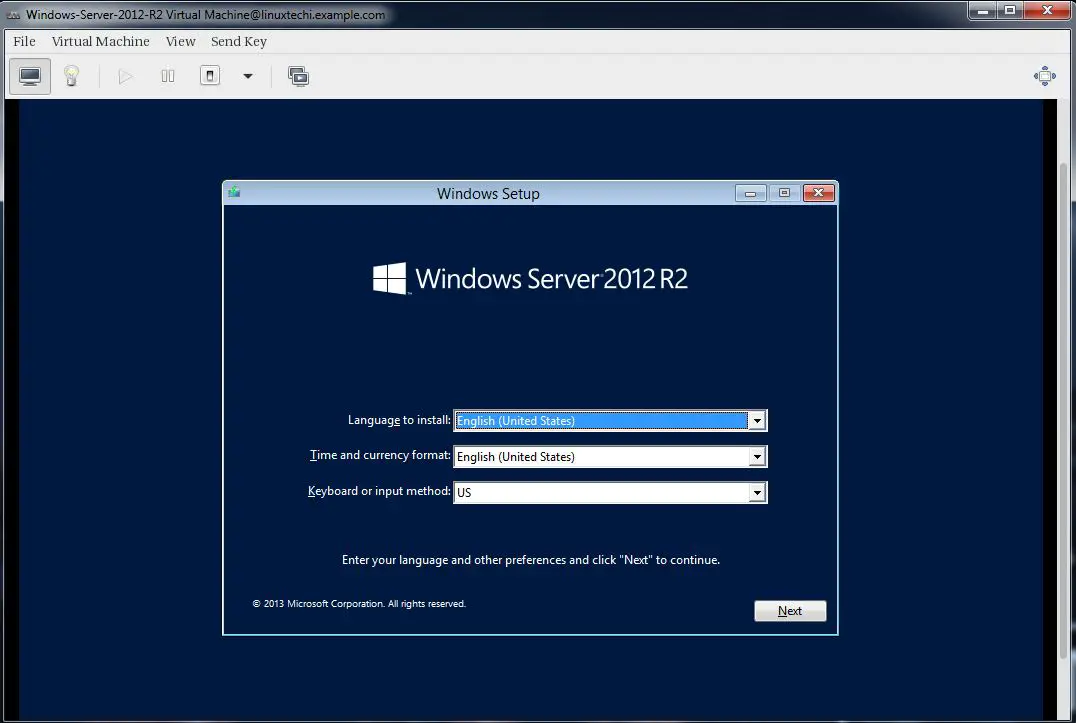
Follow the screen instructions and complete the installation.
Creating a virtual Machine from Command Line:
Virtual Machines can be created from the console as well using ‘virt-install’ command. In the following example i going to virtual machine of Ubuntu 16.04 LTS.
No comments:
Post a Comment